🏭 Build an extension for Airtable
Learn how to create an extension for Airtable in this Versium example
Hi friends ✨,
This week, we’re building a Versium extension for Airtable. Versium is an identity resolution engine accessing over two billion contact points across North America. Airtable is a cloud platform that blends spreadsheets and databases. A Versium extension for Airtable enhances your sales and marketing workflows by bringing information from Versium’s identity graph directly into your Airtable setup.
While this guide provides a high-level overview of building a specific Airtable extension (For more details on any steps, click “👟 see step-by-step”), you will also learn the basics of creating extensions for Airtable, which serves over 450,000 organizations, including global companies like West Elm, Shopify, Intuit, and GitHub.
Quick preview of what we’re building
The extension we create will let users:
Add and save Versium API keys.
Set up the Airtable table and view for enrichment.
Choose the field for enrichment.
Map output fields like first name, last name, email, company domain, and business name.
If you’re following along, have a Versium account, an Airtable account, and an Airtable base ready. Copy this base and add LinkedIn URLs for a quick setup. Note: Versium works best with contacts in the USA and Canada.
1. Create a new extension
Go to your base, click “add an extension,” and select “build a custom extension.” Follow the on-screen prompts to complete the initial setup.
2. Set up the onboarding screen
Start by creating a new file named `onboardingScreen.js` in the frontend folder of your project.
This file sets up the initial interactions needed to configure API keys and integrates tables and records with Versium’s API.
3. Implement the API integration and data handling
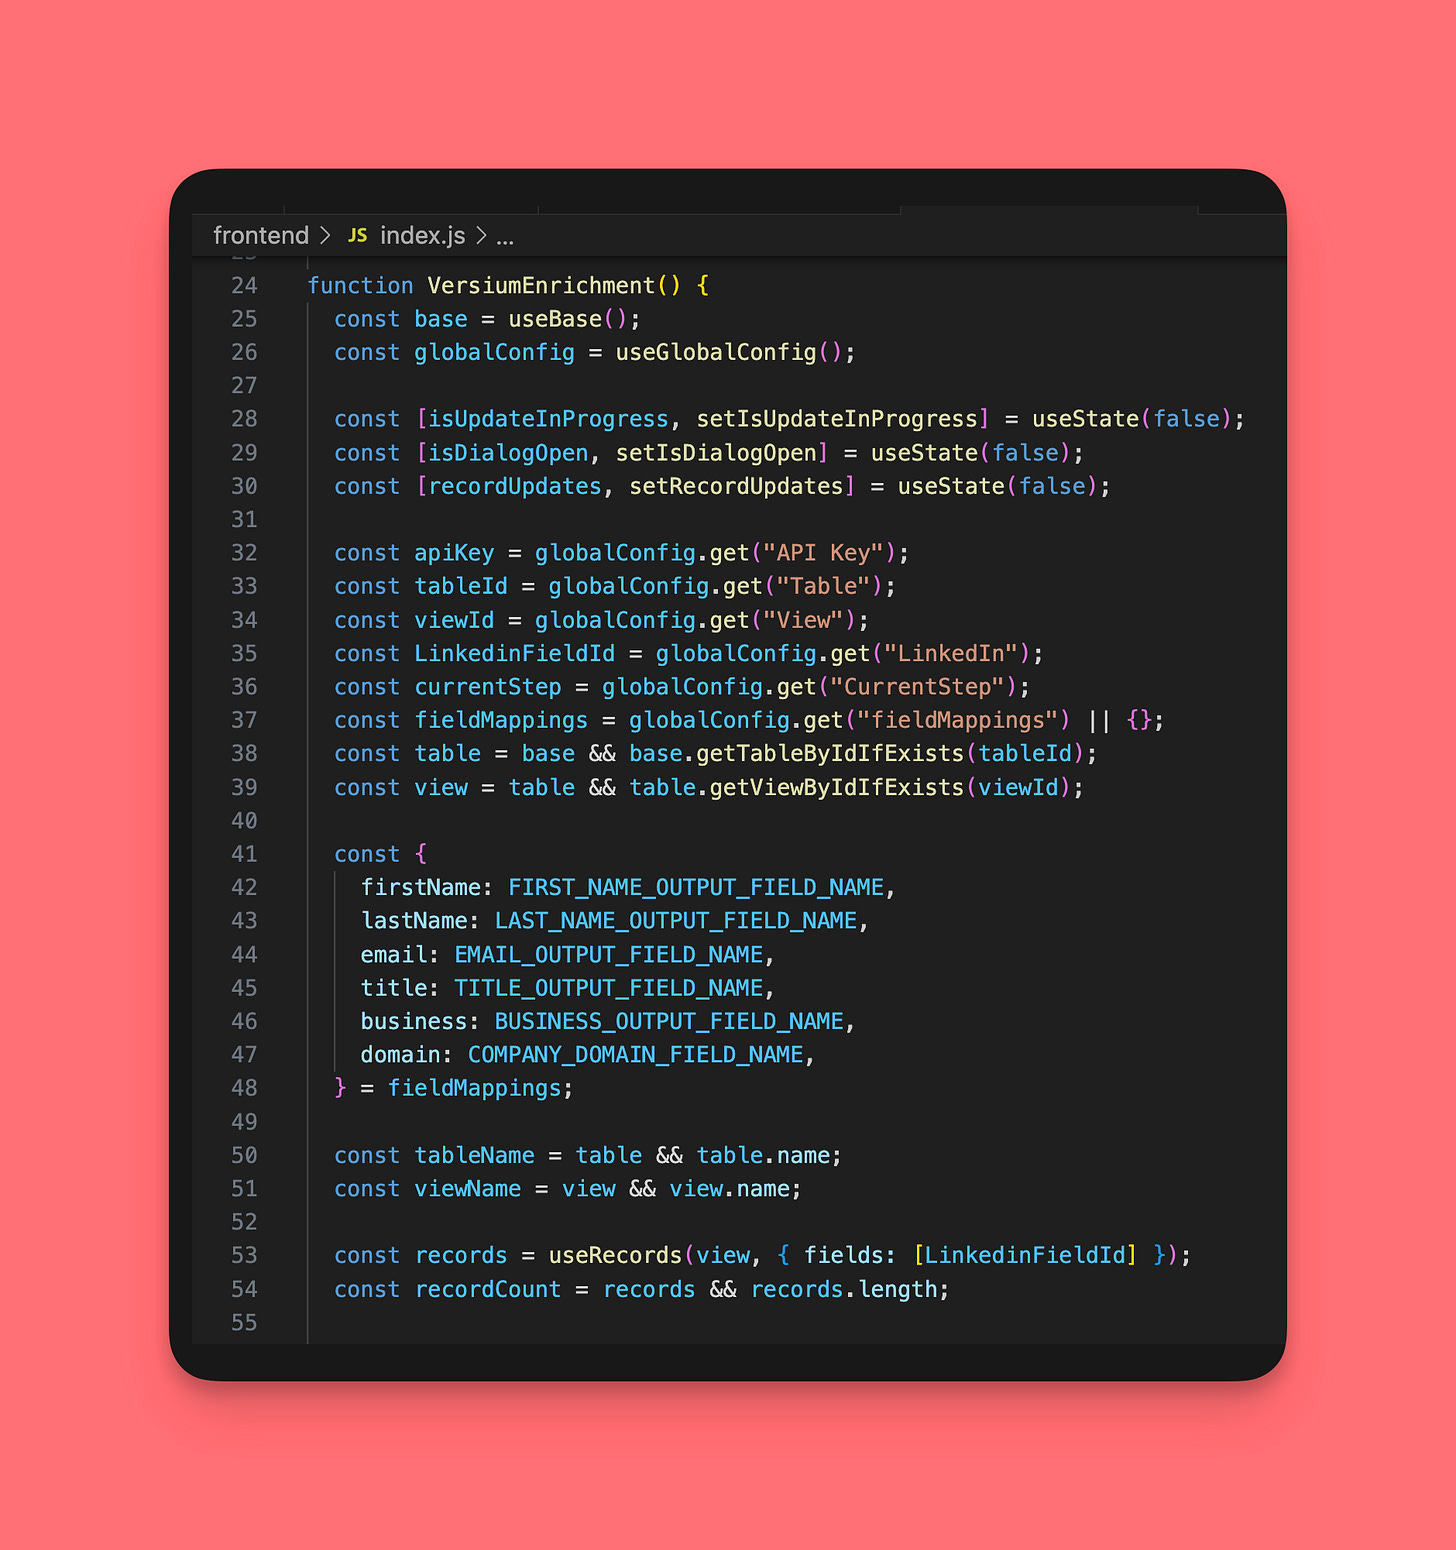
Go to the index.js file in your frontend folder. Here, you'll set up the code to enrich records with data from Versium's API.
4. Test the extension
To test the extension, open your terminal and run the following command:
block run
Navigate to the extension, click "Edit extension," enter the extension URL (usually https://localhost:9000), select "Start editing extension," complete the onboarding steps, and then proceed to run the enrichment.
That's a wrap! For more details like code snippets and publishing tips, check out the full guide.
Working on an Airtable extension? I’d love to hear about it—drop me a note!
Lola


