🚧 Build your first Make app in 5 screenshots
Discover the step-by-step process of creating a Productive app for Make
Hi friends ✨,
In this week’s exploration of third-party apps, we're building an app for Make, an automation platform with over 500,000 users across 198 countries. We'll connect it to Productive, an agency management platform, that does not have a Make app yet.
This guide keeps things high level. For more context on any of the steps, click the 👟 See step-by-step.
Quick preview of the app we’re building
The app we create will enable users to:
Connect to their Productive account.
Choose important items like managers, workflows, and companies.
Create new projects directly from Make.
If you’re following along, have a Make account and a Productive account ready.
1. Create a new app
Log into Make, go to "My Apps," and click “Create a new app”. Fill out the form with your app details.
2. Build the connection
Set up a new connection. Input “Productive” as the label and choose "API key" as the type.
Add your organization ID and Auth Token in the connection parameters. We'll check the auth token using Productive's user’s endpoint.
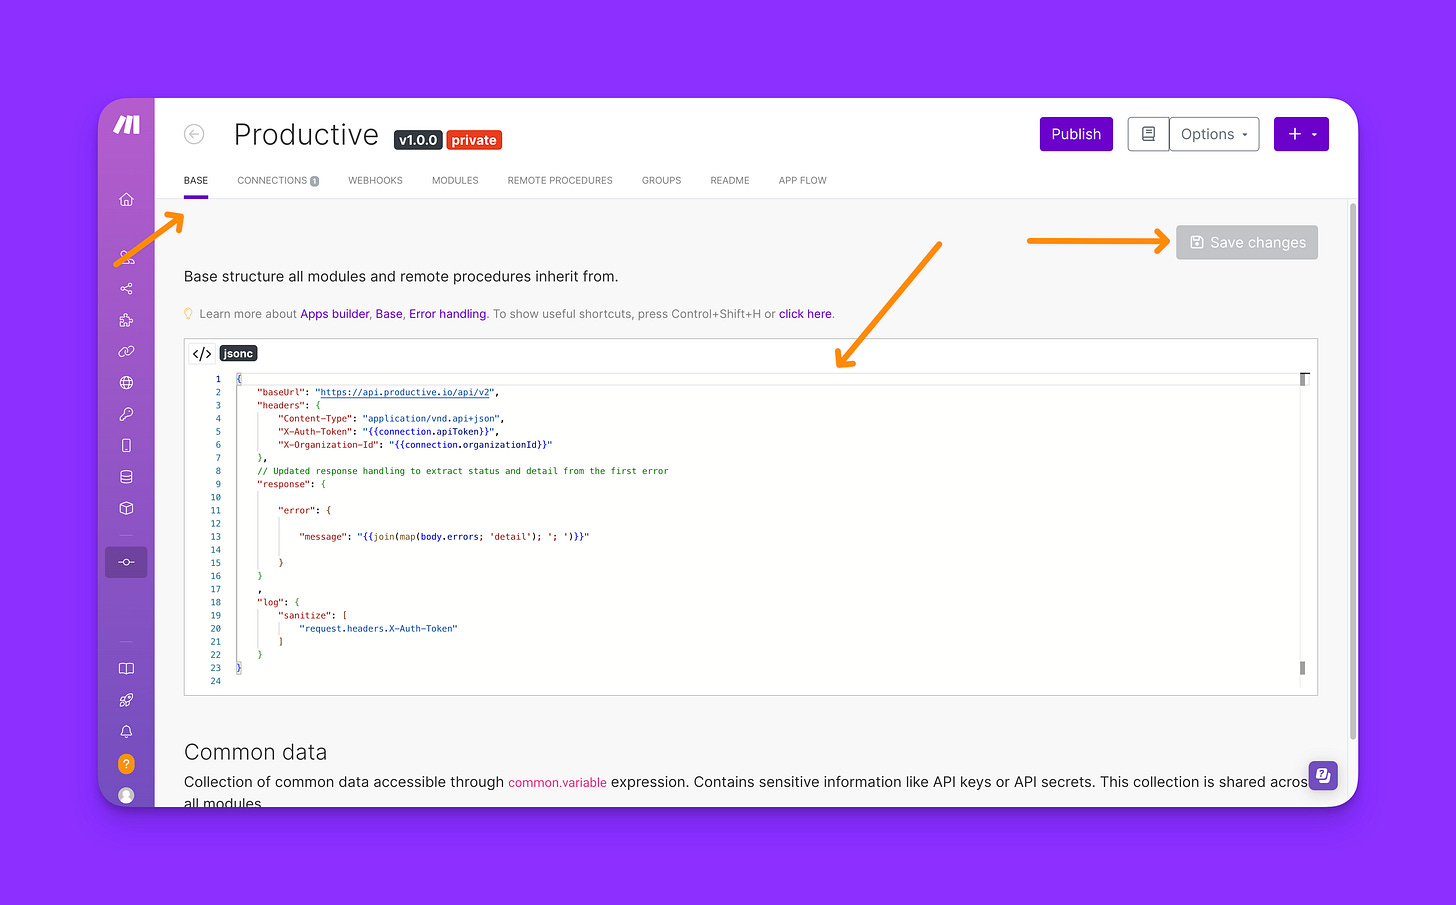
3. Configure the base
The base contains common components for all modules, which helps us avoid repetition. We'll set up the base URL, headers, and error handling that all modules and remote procedures will use.
4. Create Remote Procedure Calls
We’ll use Remote procedure calls (RPCs) to dynamically fetch company, people, and workflow details from our user's account.
5. Create the Action Module
This is where the magic happens. Now that we've enabled account connections and set up our RPCs, we can set up the action that creates projects in Make. We'll send the user's selections for access, company, people, and workflows to Productive’s projects endpoint.
That's a wrap! For more details like code snippets and publishing tips, check out the full guide.
Working on a Make app? I’d love to hear about it—drop a note!
Lola


