📧 How to create a Mailerlite app for Webflow
A step-by-step guide on creating a Mailerlite app for Webflow. he article offers insights and code references for any developers looking to learn how to build Webflow hybrid apps.
Hey friends,
In today's newsletter, I'm sharing a tutorial on creating a Mailerlite app for Webflow. If you’re interested in building third-party applications for Webflow users, this can provide a foundation.
Please note that the newsletter version is a high-level overview. For a comprehensive guide, explore the detailed article on the Lunch Pail Labs blog below.
What we’ll build
We'll create a Webflow hybrid app that sends Webflow form submissions to Mailerlite. Key features include:
Select a Webflow form.
Configure the email field for Mailerlite and choose the target group.
Establish a Webflow webhook for handling form submissions.
View and manage form connections.
This tutorial offers a lean version of the application
Currently, the app connects only to the email field and doesn't integrate with Mailerlite's custom fields.
This version is for personal use with Mailerlite and doesn't handle multiple user accounts. It can be adapted for future features like secure API key storage for multiple users.
For those who want to skip ahead and see all the code,you can access the full repository here.
1. Get started
Before you begin, make sure you have:
A Mailerlite account with an API key.
A Webflow account and a site you want to connect with a form.
A Webflow app (👩🏿🏫 view tutorial to configure the Webflow app).
Ngrok or a similar service for a secure https development url (👩🏿🏫 view tutorial).
A basic understanding of JavaScript is helpful for any customizations. We'll be using a starter template to kickstart the project. Learn more about the starter here and get it set up by following these instructions.
2. Authorize Webflow users
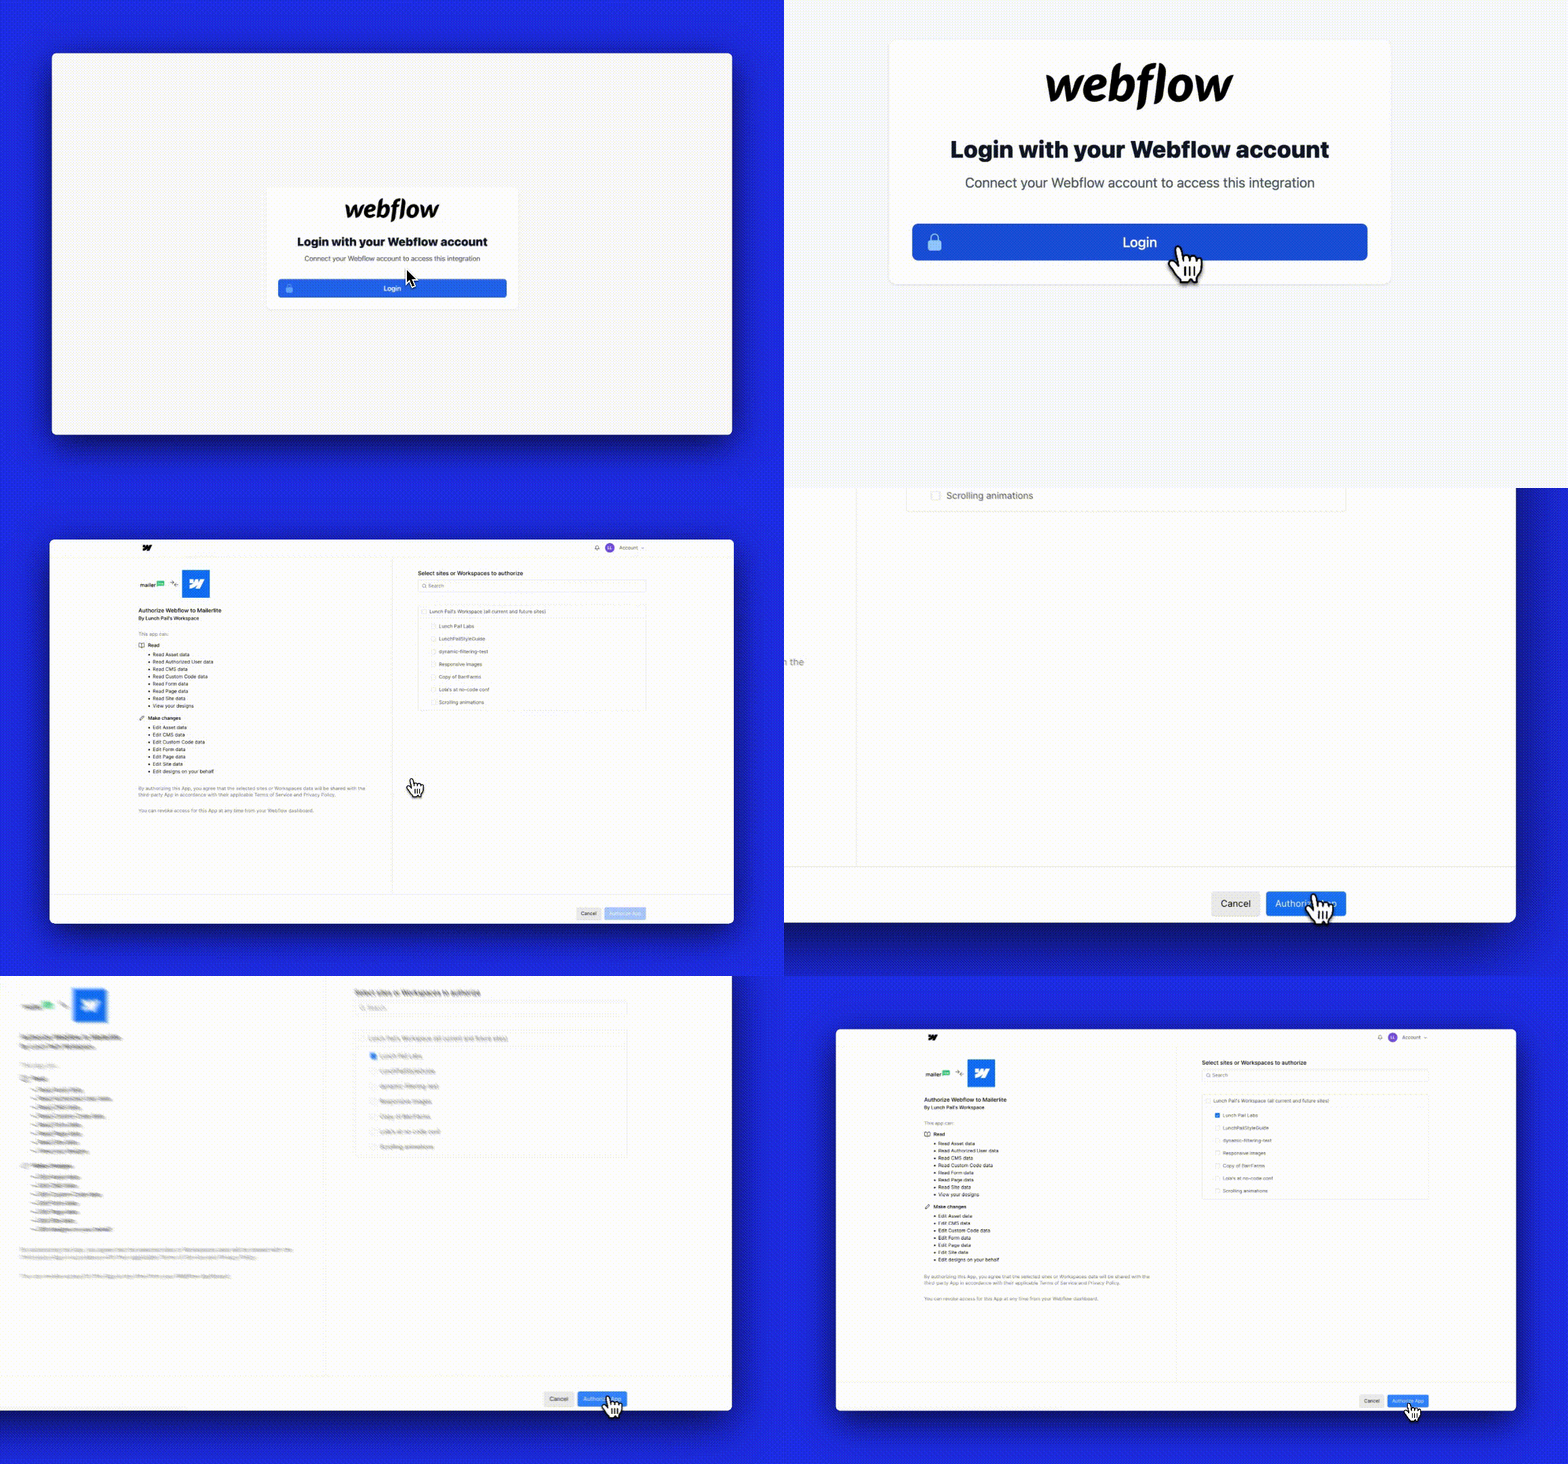
When users visit our app's URL and are not logged in, they'll be directed to a Webflow login page for account authorization.
After authorization, they can view and copy their access token.
The starter template includes the login, redirect, and authorization processes with token handling by default so no changes are required here.
3. Configure the designer extension’s entry point
Webflow designer extensions function as single-page apps. In our tutorial, the main page for this app is page.tsx. As we proceed with this tutorial, we'll build components that serve as individual pages and load them into the page.tsx for display.
Here are the four key steps our extension will cover:
Login: Input Webflow auth token.
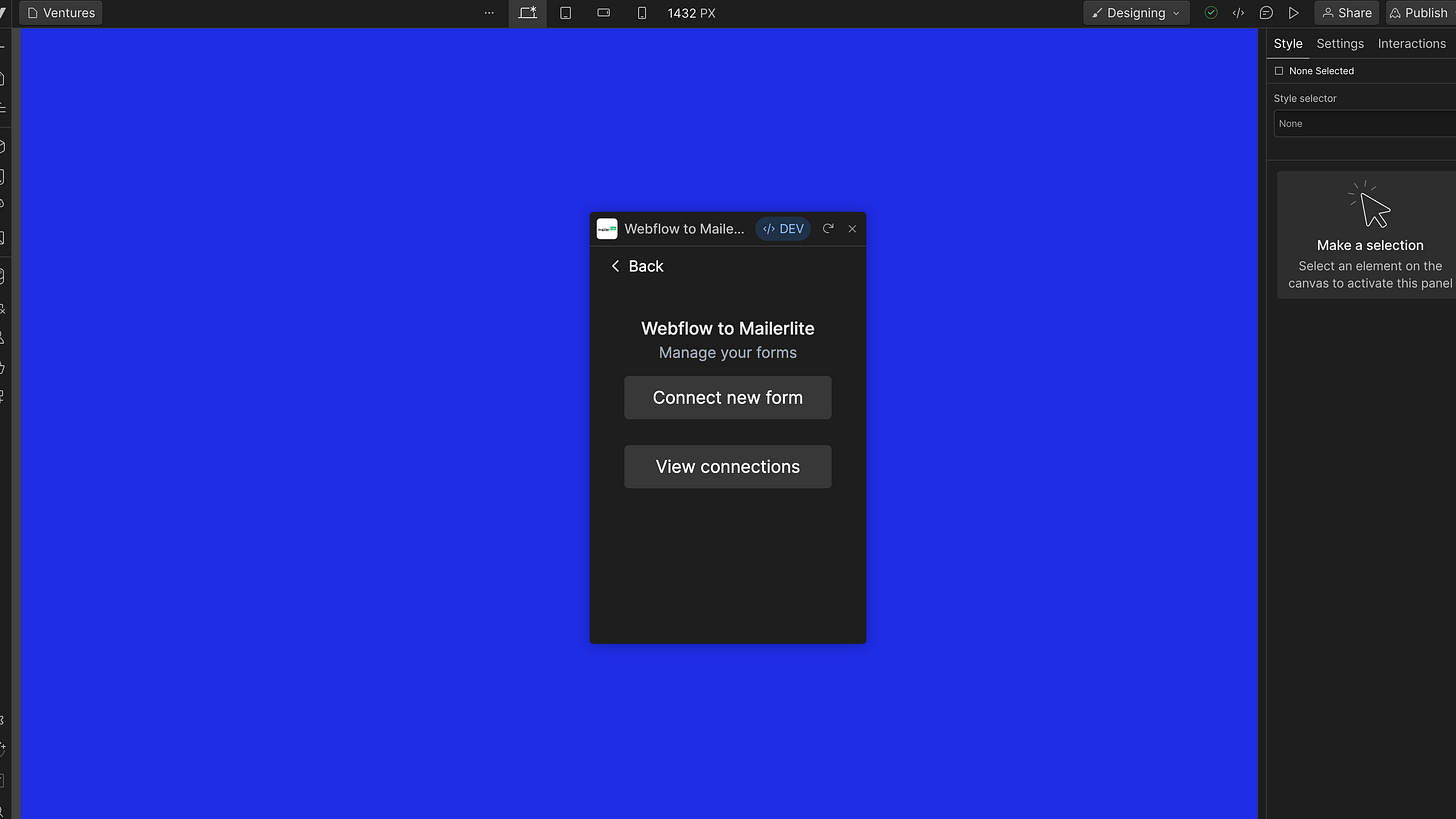
Navigate: Choose to connect a new form or view existing connections.
Select Form: Pick a form to connect.
Configure Mailerlite: Specify the fields to connect and select the Mailerlite group.
Manage Connections: Review and remove existing connections.
The starter template already includes the login process, but you can customize it in the Login component if you wish to make edits.
4. Modify the navigate screen
After users log in, they'll see a navigation hub. They can choose to connect a new form or view existing connections (🤖 view code here).
5. Select the form
Users select a Webflow form to connect with Mailerlite. The interface fetches authorized site forms via Webflow APIs and displays them in a dropdown (🤖 view code here).
6. Configure Mailerlite
In this step, users configure the email field from their Webflow form and select a Mailerlite group to receive form submissions. The process involves interfacing with Mailerlite APIs to retrieve groups and setting up a Webflow webhook for data flow to Mailerlite (🤖 view code here).
7. View form connections
The final component allows users to view and manage their existing form connections, including deleting them directly from within the extension (🤖 view code here)
And that's the process of building a Mailerlite app for Webflow. If you decide to give any of these steps a try, I'd greatly appreciate your feedback.
Feel free to reach out by replying to this email. Keep in mind that this is a high-level overview, so for the complete details, please check out the article here. I look forward to hearing from you!
Lola


